DECstation
in ATX enclosure
|
These were the things I needed, to be
able to build my own ATX-DECstation:
- DECstation 5000/1XX motherboard
- DECstation memory SIMMs
- DECstation CPU module (/150)
- TurboChannel cards
- MidTower ATX enclosure with big enough backplane area to hold my
DECstation motherboard. I was very picky when I chose box, it had to be wide
enough too. Many MidTower boxes have the power supply horizontally installed,
those were no option.
- ATX power supply with external On/Off switch. I chose a standard
230W power supply.
- Tools, such as screwdriver, soldering iron etc.
- Some spray paint
- Some tape, for electrical insulation and metal tape to cover inconveniant
holes and cuts in the ATX enclosure.
Now, this is what I did:
- Measured all voltages coming from a working, running original DECstation
power supply. All necessary voltages are available in a standard ATX power
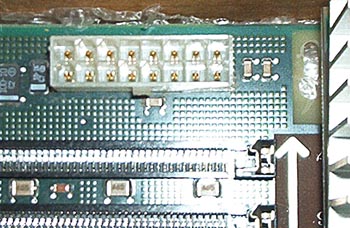
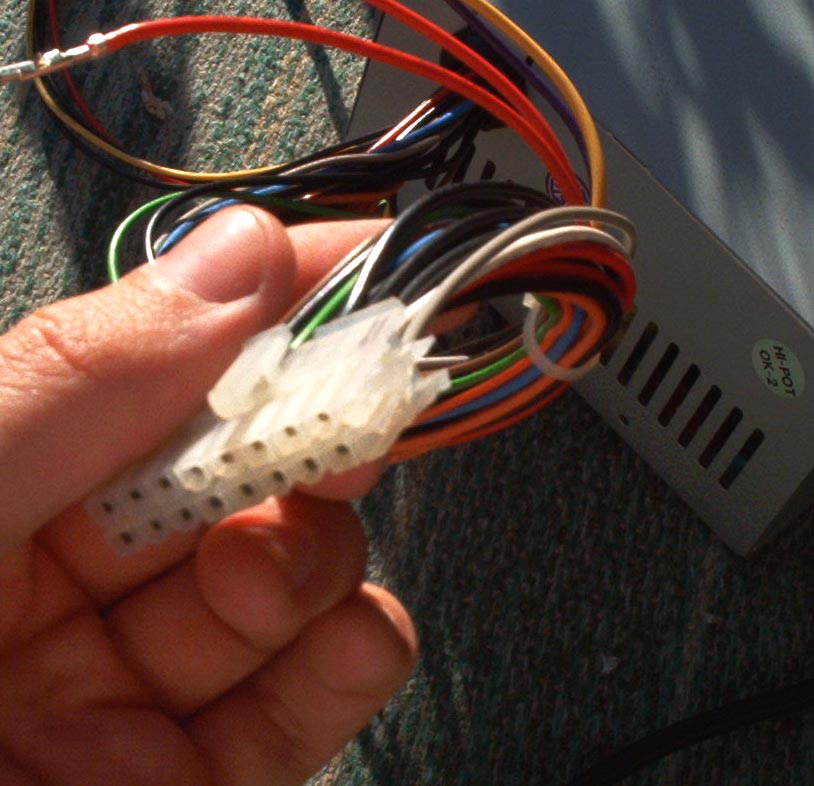
supply. Here is the DECstation Power Supply Unit pinout: PSU.pdf. Here are pics of the original DECstation socketand top
of connector / bottom of it. These look
very similar to standard ATX ones, but they lack 4 pins. The pinout for the
standard ATX connector is available on many places on the Internet, do a
Google
search for that.
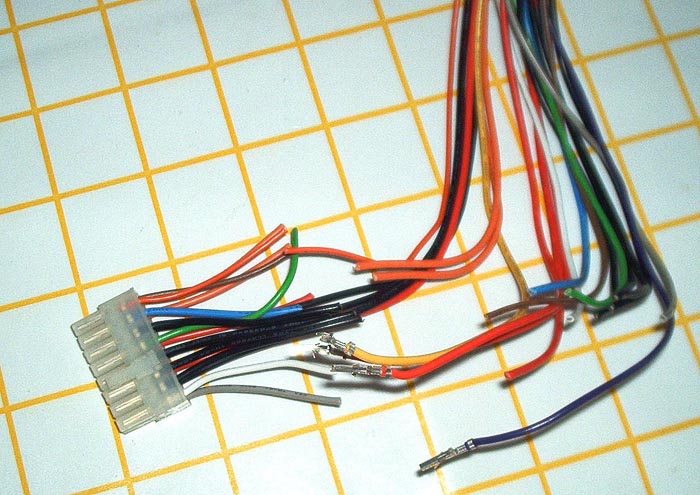
- Then I took out my ATX power supply and cut away plastic for 4 pins
from one side of the connector with a sharp knife. Look at this pic to see which side.
- Then I cut appropriate cables, those that went to the wrong
pins. Look here.
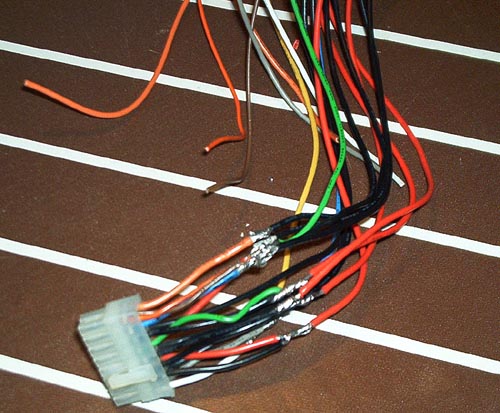
- After that, I did some soldering, you can see that here. Notice that the green wire, soft-power-on,
should be connected to ground, otherwise you can't start your ATX power supply
unit.
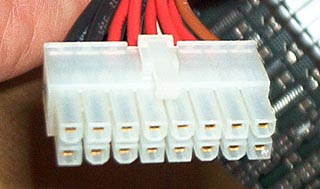
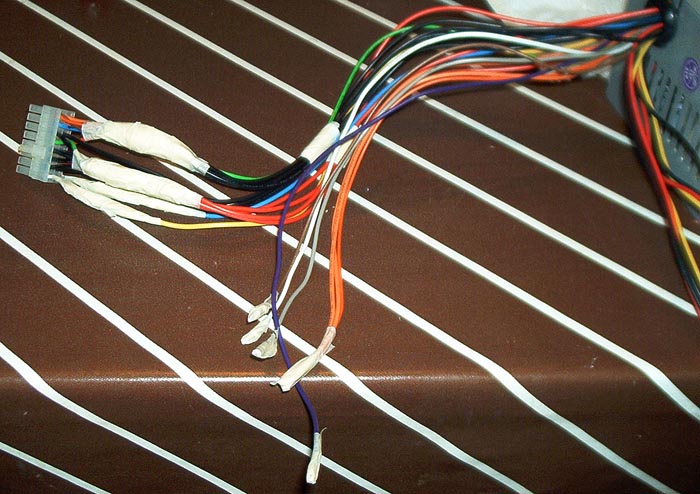
- Then I did some electrical insulation, using tape. The whole ready
cable/connector can be seen in this pic.
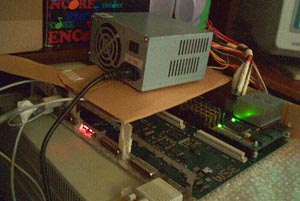
- Here is a picture when I made my first
test run, my DECstation motherboard is running on ATX power for the first
time ever!
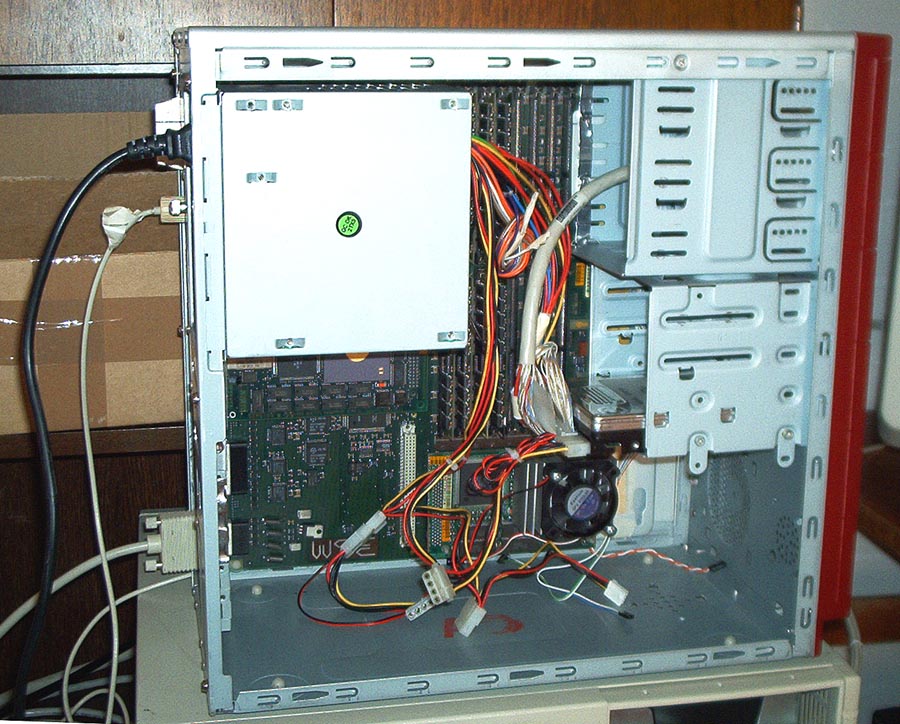
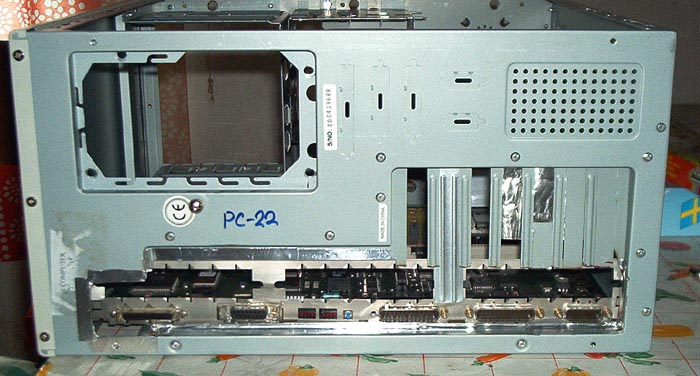
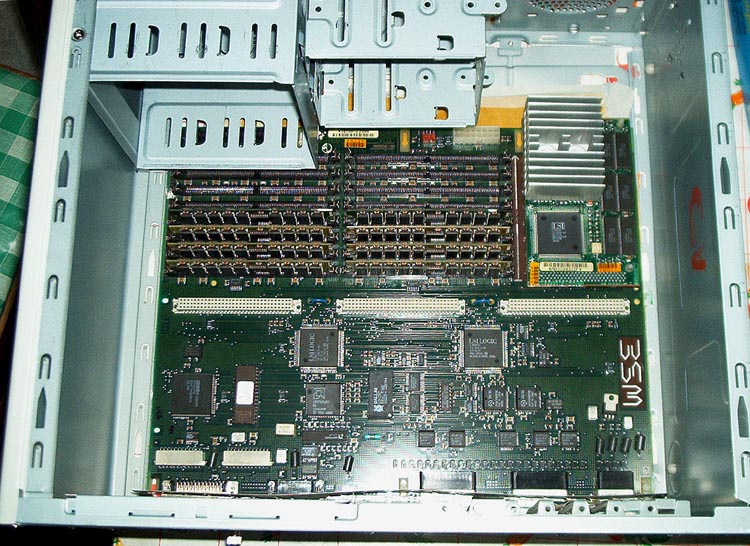
- Now it was time to modify the enclosure itself to hold my motherboard.
I did some cutting and the result can be seen here, the back of the box and inside. The motherboard is now fastened
with some wires (in the middle) and with some home made plastic knobs (not
visible in the pictures, sorry). But first I covered the ATX box' backplane
plate with insulation material, in this case some thick paper
and bubble plastic, to get a distance between the motherboard ant the plate.
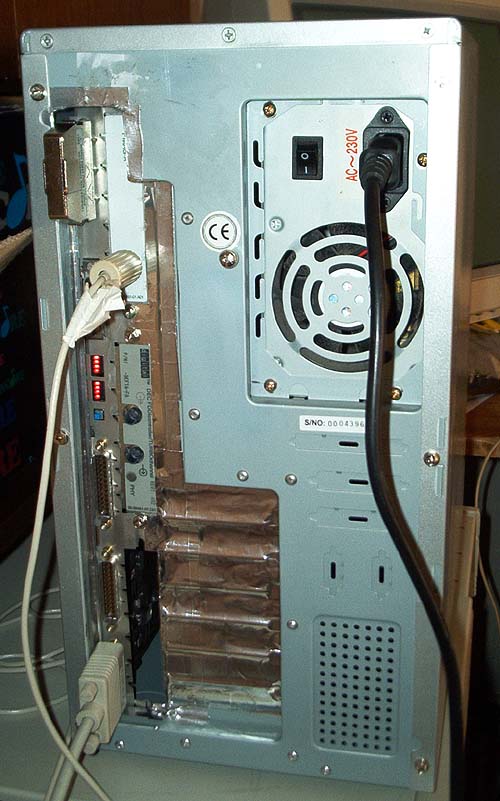
- After all this I used my aluminium metal tape to cover all unwanted
holes in the enclosure, mostly in the rear. Result here. In that picture some TC cards are also installed.
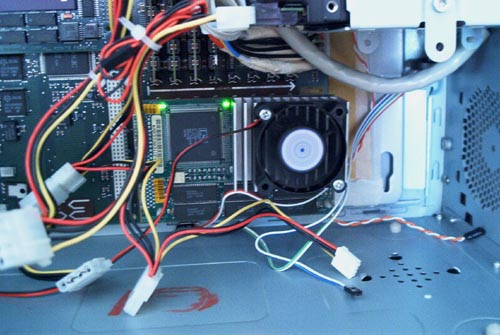
- I ran the system a while and noticed that my /150 CPU card required
more cooling so I installed a CPU fan.
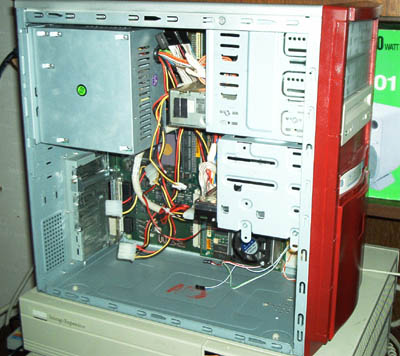
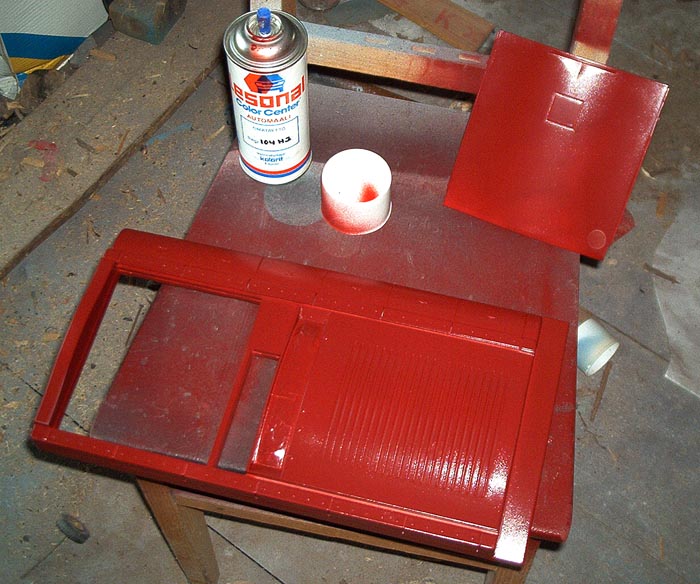
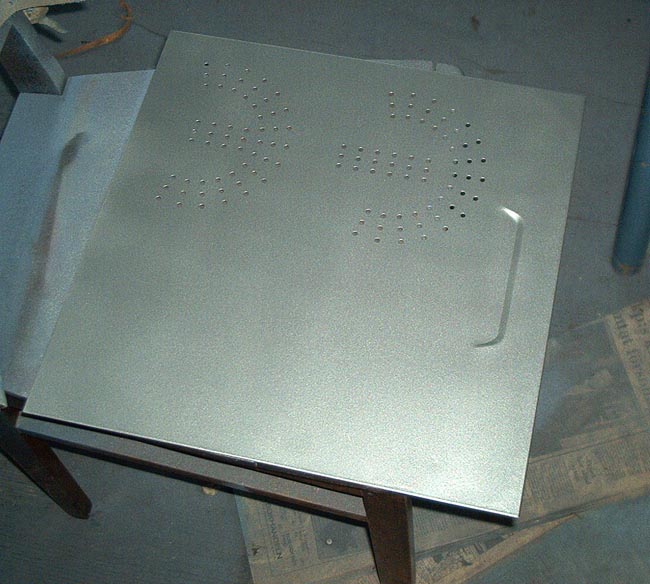
- While I was at it, I thought I'd make my ATX DECstation look prettier,
I painted the front with red (acryl car
paint) and the rest of the plates with silver!
- I waited a couple of days for the spray paint to dry and then I
put everything in place! Have a look at these pictures:
So now, if you happen
to have a spare motherboard or a DECstation with just a broken power supply,
just go ahead and build an ATX-DECstation yourself :-)
Feel free to drop me an email if you have found
these instructions useful!
Back to index.